Zum Inhalt der Seite gehen


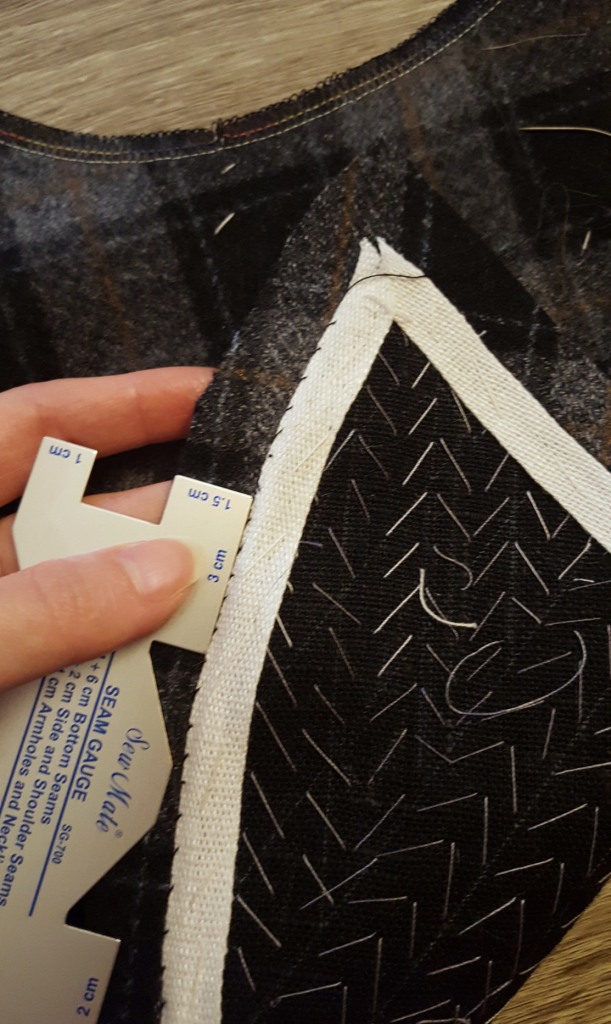
Putting on the linen tape on the edges of the canvas. The canvas is trimmed a bit beyond the future seam line, and then the tape gets put on, exactly at or slightly outside the seam line. Here I've been checking my placement with a seam gauge because I'm in that sort of mood. 😄 Then that all gets sewn down, the canvas won't move at all with nothing visibly attaching it, and the front and lapel won't stretch and will feel a bit more sturdy. Not necessary, but nice!

#Sewing #Tailoring #1890sCheckJacket
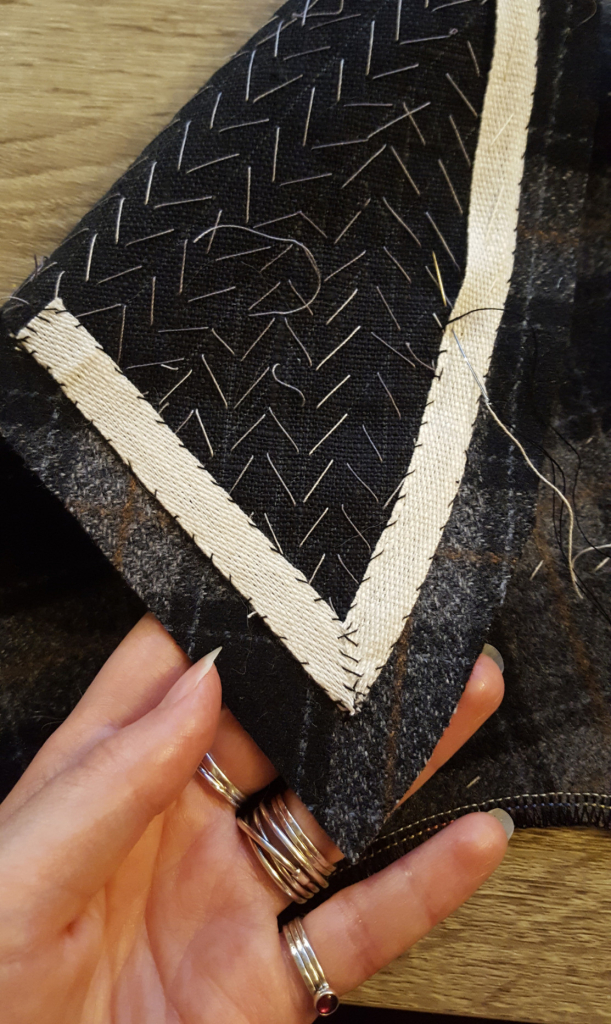
The mostly finished lapel with its inner structures in order. The narrow tape has been whipstitched on on every side, at least up to a point where there is still a sewing needle sticking out. The point of the lapel, with its mitred linen tape, is somehow much more crisp, flat and even than when it was still half off. The difference is minute but noticeable. The effect of the white tape on black and gray fabric, with gray stitching, is visually pretty striking. Sini's hand is holding onto the lapel, with her myriad shiny silver rings, for crafter's pride reasons.
A close up photo of Sini checking the seam allowance against a seam gauge. It's exactly and very satisfyingly at 1.5 centimetres. Exactly at that measurement is a white linen tape, about 1cm wide, in the process of being sewn on by hand onto the edge of black canvas. That, in turn, has a bunch of pad stitching on it, looking like very large herringbone or zigzag. The photo is a little bit out of focus.
Thank you! Old manuals advise to make a folded point there, but my tape is a bit thick and I figured a secured mitre is just as fine. 😄

These are also the things that make bought tailoring cost oodles of money despite usually not being visible. I've been doing pretty much nothing else today except these lapels, I'm fairly fast at it, and they're not close to done yet!